Tutorial Step 1. NEQTO Console Setting
Overview
Tutorial Step 1. introduces the configuration of various features on NEQTO Console.
This step will complete the NEQTO Console preparations to output "Hello World".
Configuring NEQTO Console
1. Login to NEQTO
If a NEQTO account has not yet been created, refer here first to register.
Sign in to the NEQTO Console (https://console.neqto.com/login) using a registered account.
- Enter the Company Code
- Enter Email
- Enter Password
- Click Sign in
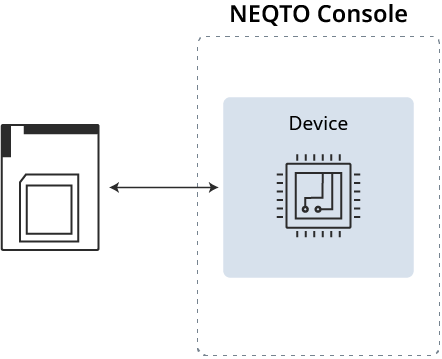
2. Register Device
A NEQTO device will be registered to the NEQTO Console.
Related resources: About Device Management, NEQTO Engine Firmware List
Click the user menu icon in the top right and select "Manage Devices" from the dropdown.
On Devices page click the " Add Device" button, then register a device.
- Select the appropriate hardware series
- Select the "Create a new license for this device" checkbox
- In the case of NEQTO Bridge, input the device's serial ID and product key
- Click Save to register the Device
Return to the Groups page by clicking "Groups" in the breadcrumbs.
For STM32 Discovery or SPRESENSE devices, note the "Challenge code" in the device details. See appendix.
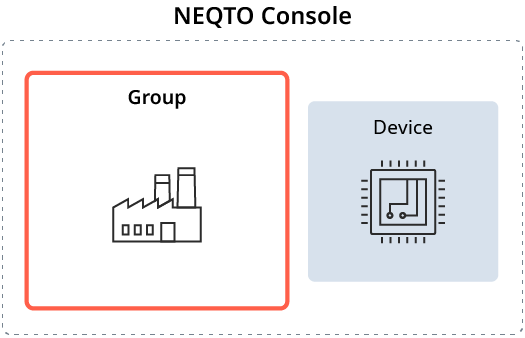
3. Register Group
A Group represents the highest level management unit, such as a team, project, region, or organization.
Related resources: About Group Management
To create a Group, click the " Add Group" button.
- Enter a Name
- Click Save to register the Group
Next, click on the newly created Group.
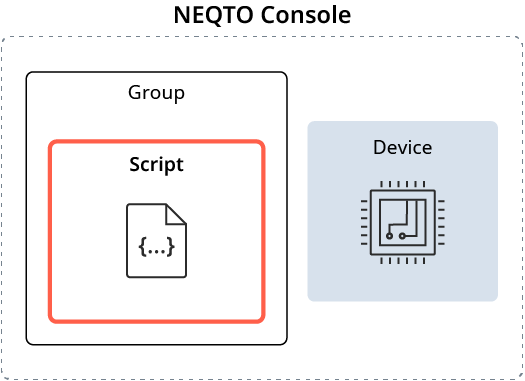
4. Register Script
A Script is a user-defined program that runs on the NEQTO device. Scripts enable user applications such as device hardware interface control and cloud-to-cloud communication.
Related resources: About Script Management
From the Group navigation menu, select the "Scripts" tab, then click " Add Script".
- Enter the Name
Hello World - Click Save to register the Script
From the Scripts list, click the newly created "Hello World" script to view the editor.
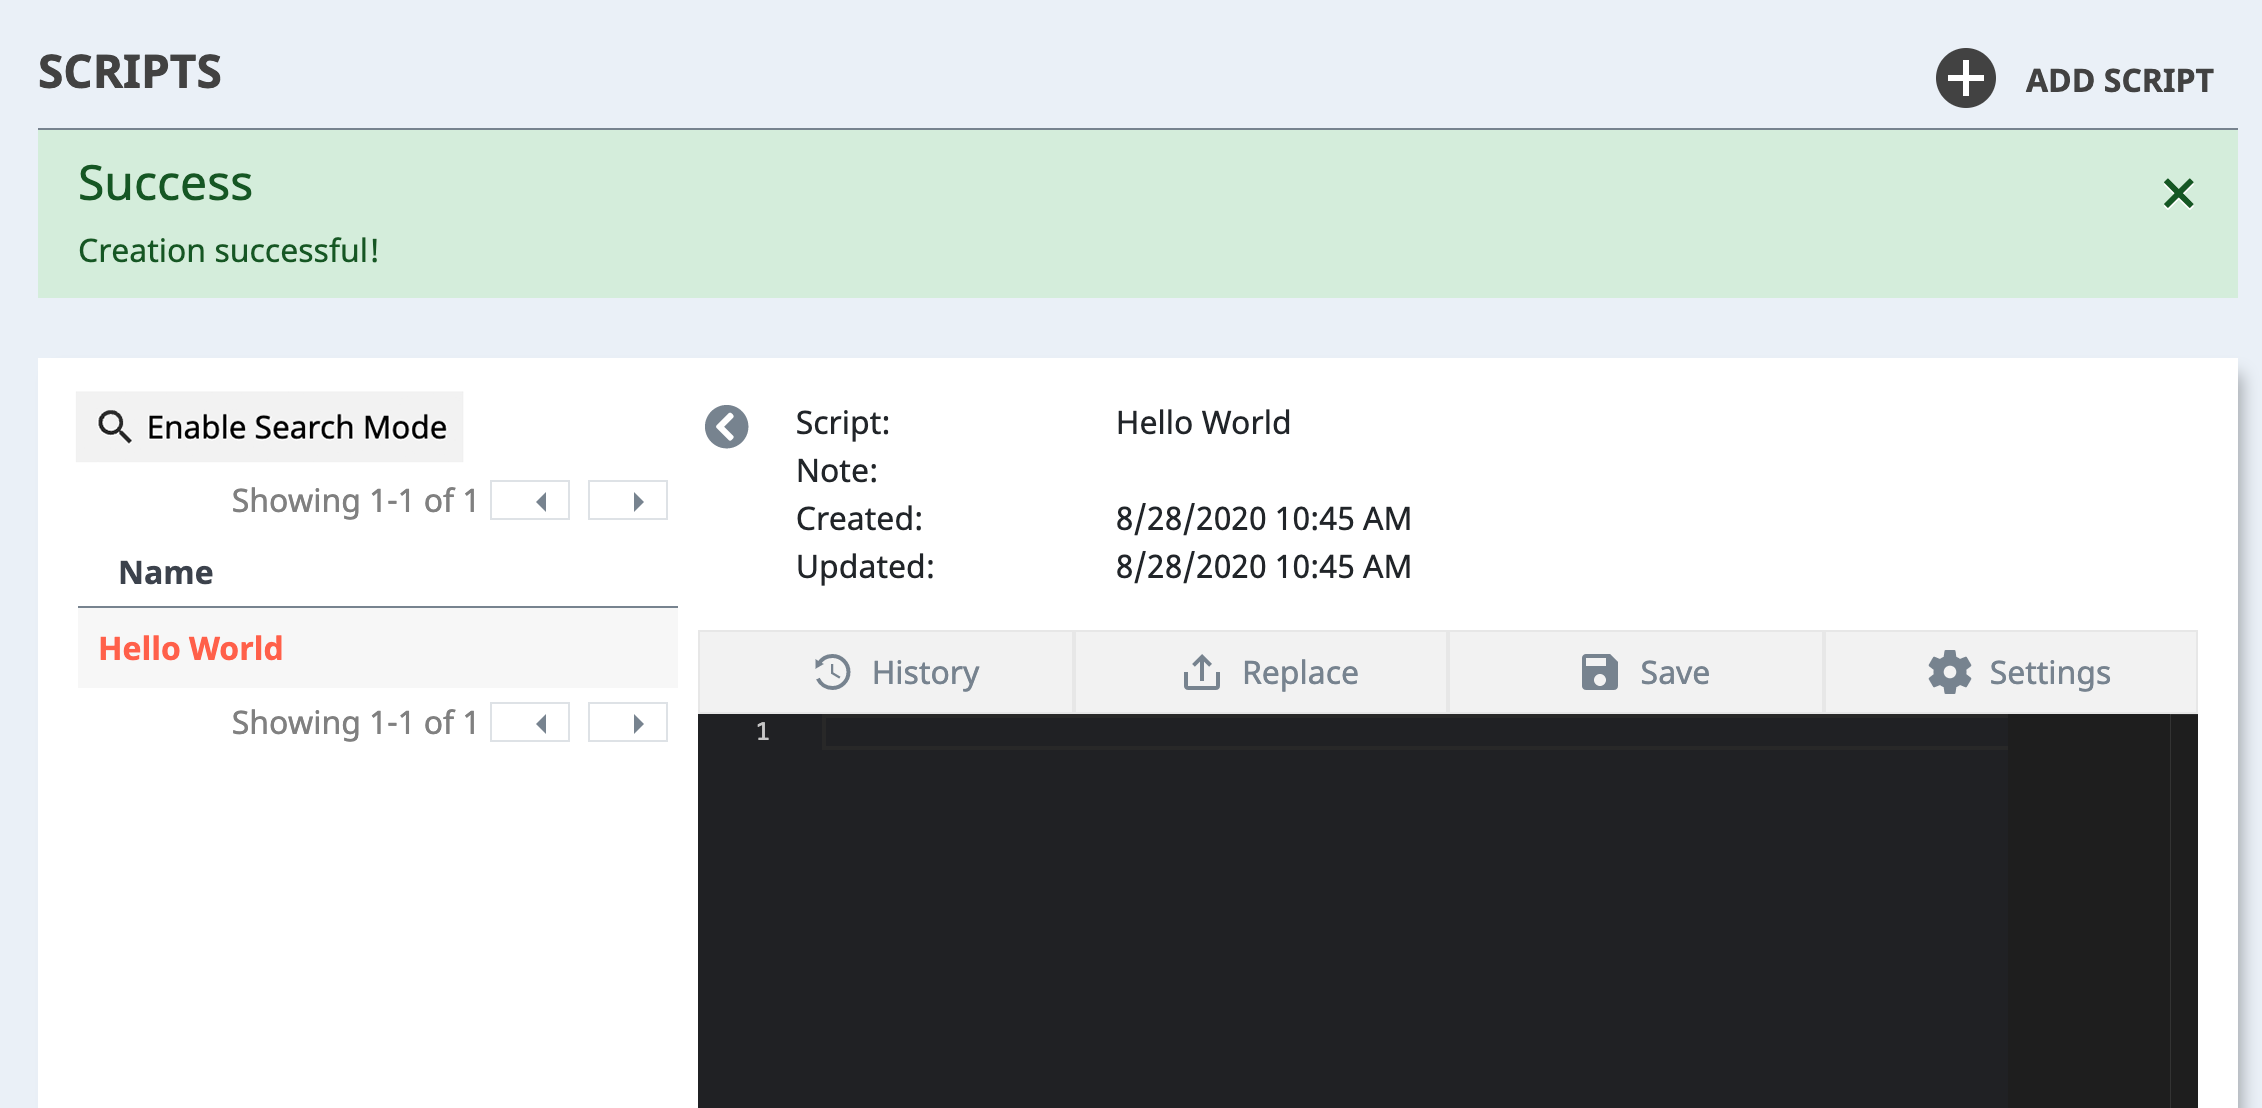
Insert the sample code provided below to the editor and click Save.
Sample code
//==============================================================
//  Sample scenario
//==============================================================
//  Output "Hello World" to the log
//==============================================================
log.setLevel(0,2); //-1:NONE 0:ERROR 1:WARNING 2:DEBUG 3:TRACE, 0:DISABLE 1:LOG 2:CONSOLE 3:BOTH
log.printLevel(2); //0:DISABLE 1:LOG 2:CONSOLE 3:BOTH

var timerInterval = 1000; //ms
var maxNumOfTimes = 60;

var loopcnt = 0;
var to = setInterval(function() {
    var date = new Date();
    print(date.toString() + '+' +  date.getMilliseconds() + 'ms : Hello World!!! ' + loopcnt);
    if(++loopcnt >= maxNumOfTimes) {
        print('finished');
        clearInterval(to);
    }
}, timerInterval);
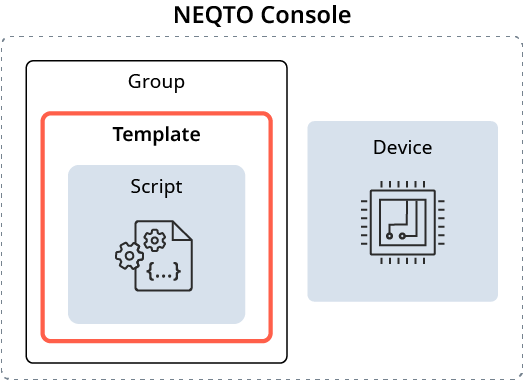
5. Register Template
Templates define the deployment configurations of Devices, Scripts, and various NEQTO services.
Related resources: About Template Management, NEQTO Engine Firmware List
From the Group navigation menu, select the "Templates" tab, then click " Add Template".
- Enter a Name
- Select the appropriate Firmware Type
- For Firmware Version, select the latest version
- From the Options tab, enter the registered Script
- Click Save to register the Template
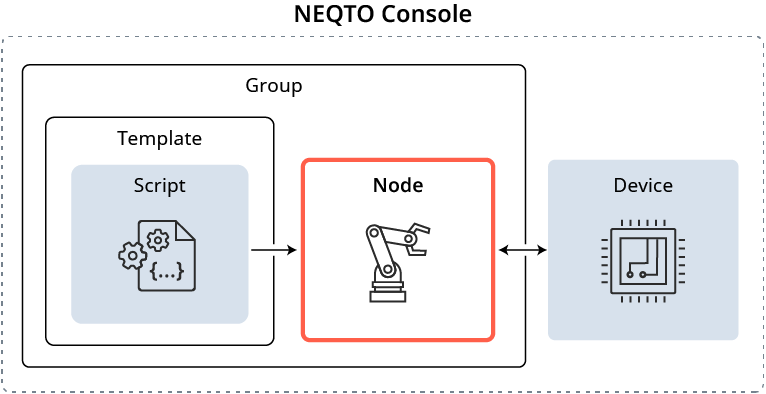
6. Register Node
A Node represents a management unit defined for each device in a Group.
Related resources: About Node Management
From the Group navigation menu, select the "Nodes" tab, then click " Add Node".
- Enter a Name
- Enter the registered Template
- From the Device Information tab, enter the registered Device
- Click Save to register the Node
The NEQTO Console preparations are now complete. Proceed to the next step.
» Tutorial Step 2. (If using the NEQTO Bridge)➔
» Tutorial Step 2. (If using the STM32 Discovery)➔
» Tutorial Step 2. (If using the SPRESENSE)➔
Appendix
View Device details
Related resources: About Device details
Device information can be viewed on the Devices page: https://console.neqto.com/devices
Choose the device fom the list and click the "Details" button.
For STM32 Discovery and SPRESENSE devices, the device information include a unique "Challenge code" used when first connecting to the NEQTO Console. Note the challenge code before Tutorial Step 2.
