Administrative Actions
The root account or an administrator account can perform several administrative actions in an organization.
Managing Sub-Accounts
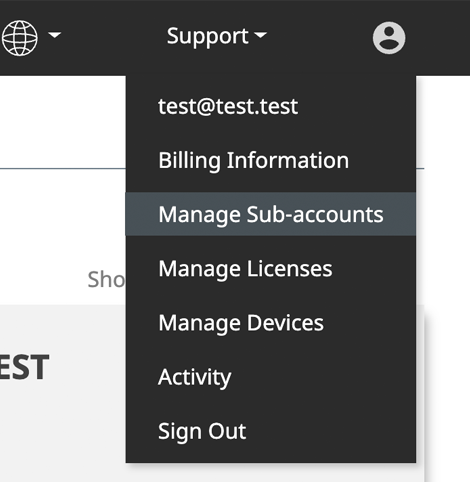
To manage sub-accounts, click on the user icon and select "Manage Sub-accounts" in the drop-down menu.

Sub-accounts contain the following information:
| Item | Description |
|---|---|
| Email (Required) | The email you would like to register the sub-account to. |
| Password (Required) | The password you wish to set for the sub-account. Please specify a combination of at least 8 digits, characters or symbols. Please refer to the Guidelines for Secure Passwords. |
| Language (Required) | The default language for the sub-account. |
| Access Level | If checked, user is given "administrator" access, which is admin access to all Groups. |
| Status | Used to control if the account can be used, either Active or Inactive. |
Add an Account
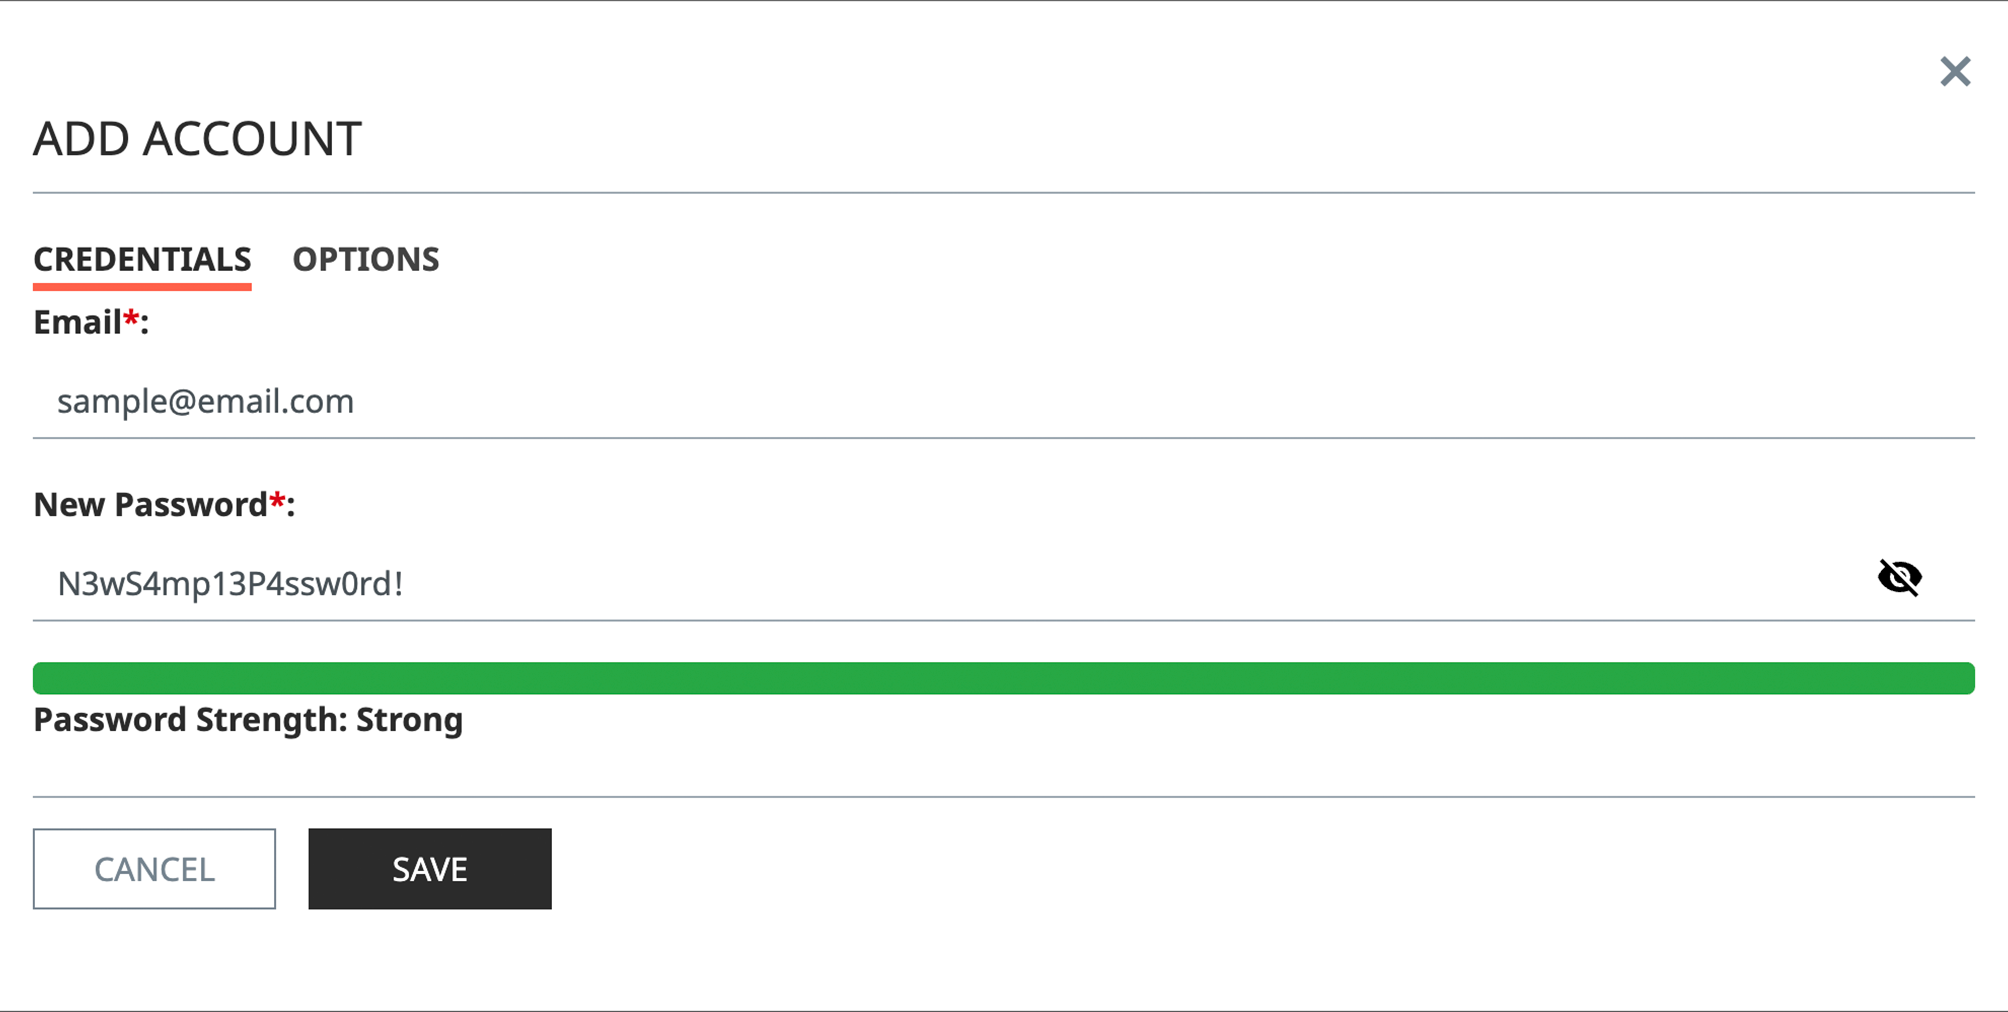
- Click the "Add Account" button in the upper-right hand corner.
- Insert the appropriate information.
- Click "Save" to add the user or "X" to cancel this operation.

- You may click the "eye" icon to show the contents of the password when creating an account.
When editing an existing account it is impossible to unmask the account's password.- The Password Strength meter shows the strength of your password. It is recommended to set difficult passwords which are strong on the meter.
Edit or Delete an Account
- Utilize search mode to filter rows for the desired account, or locate the desired account's row in the accounts table.
- Click the pencil icon.

To Edit
- Edit the desired account details.
- Click "Save" to confirm the changes or "X" to cancel the edit operation.
To Delete
- In the lower-left corner of the edit account dialogue, click the "Delete Account" button.
- Input the email of the sub-account to confirm, then click the delete button.
- If entering a new password, you may click the "eye" icon to show the contents of the password. This does not display the existing password of an account.
- Setting a sub-account to inactive will disable the user's ability to login. An inactive account will still count towards the total sub-account allotment.
Adding Users to a Group
By default sub-accounts have access to 0 Groups. To permit a user access to a Group, simply edit the Groups they have access to.
- Utilize search mode to filter rows for the desired account, or locate the desired account's row in the accounts table.
- Click "Groups".

- In the "Add to Group" field, input the names of any Groups and click the Group from the search list. When ready, click the "Add" button to permit the user access to those Groups.
- You may add multiple Groups.
- Unselect a Group by hitting the "X" icon next to the Group name.
- Click the "X" button in the top right to exit the accessible Groups screen.
- All users are added by default as a monitor (read-only permission) to a Group.
- To toggle a user's Editing Permissions, click the "Editing Permissions" toggle button.
- To remove a user's access to a Group, click on the delete ("x") icon:

User Activity Logs
Important actions performed within NEQTO Console are automatically logged.
Region, email address, API path, HTTP method, IP address, and timestamp regarding the action performed are included in the log file.
Timestamp is recorded in UTC.
User logins are recorded with the "auth" region tag.
Log files will only be maintained by NEQTO Console for a set amount of time according to service plan.
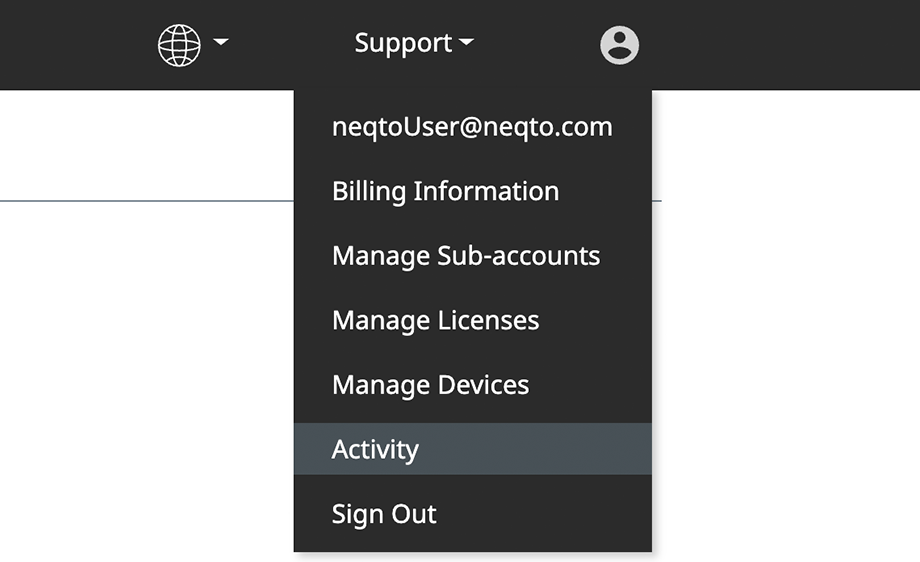
To access Activity Logs, click the user icon in the upper right and then click "Activity".

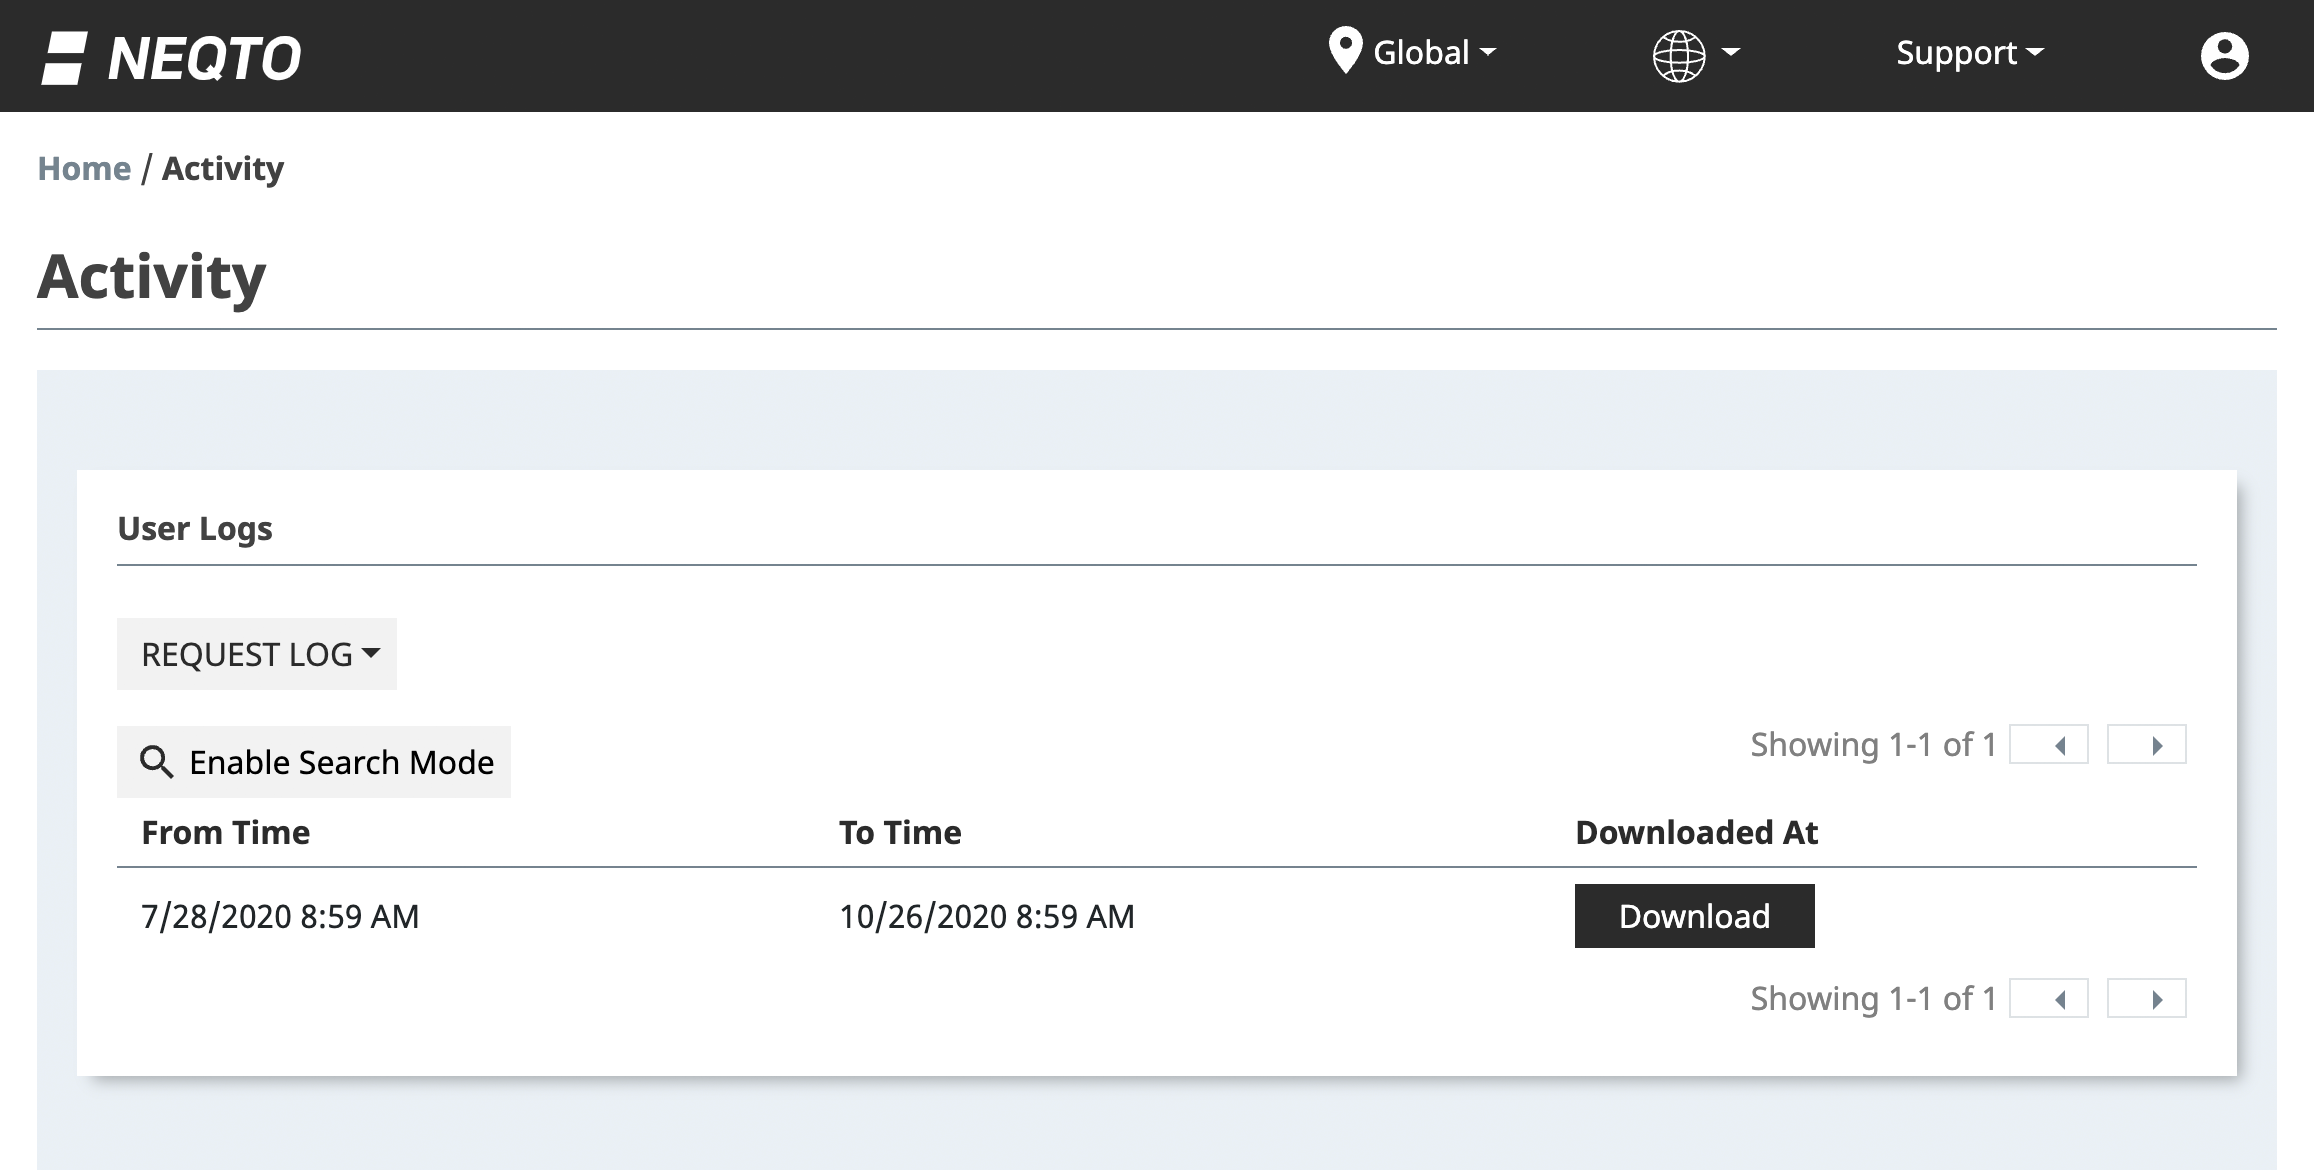
Activity logs can only be accessed by administrator level users and above.
To download logs select the date range of log files and export. Once the log files are prepared a CSV file is available for download.

File format
The following information is contained in the CSV file.
| Field | Description |
|---|---|
| region | Target endpoint name |
| user | Executing user's email address |
| api | Executed API |
| method | Executed API method |
| ip | IP address of the access source |
| timestamp | Time of execution UTC+0 (yyyy/mm/dd HH:MM:SS) |
| company_id | Company unique identifier |
